All my life, I have loved bread. I could literally survive off of bread, and bread alone. (And pasta… Let’s not forget heavenly pasta.) I remember some of the best bread I had was my grandfathers homemade “whatever” bread. He basically got out the bread machine, put in ingredients until it looked right and hit start. (Normally I don’t promote this with baking, since baking is so particular with measurements, but in this case it worked.) Whatever he did, it worked. My sister and I would devour that bread before it could properly cool. One of my favorite sights is a bakery with fresh artisan bread so perfectly thrown in a basket. Their “devil-may-care” order makes it look so delicious. I want to take a whole loaf and with my bare hands rip it apart, hearing the mouth-watering crackle of the flawlessly browned crust. Um, ok. Moving on before this gets out of hand…
Even with all my pleading, I know my bank statement would be yelling at me if I gave into every whim to buying every perfect loaf of bread. I knew I needed to find an alternative. I’ve used a bread machine for probably half my life, and don’t get me wrong, I love it. But it’s not as satisfying as the hard, chewy crust that the artisan breads express. I did some research and found that the solution is in most of our cupboards. A dutch oven!
Cast iron is one of the best tools for baking breads, pizza doughs etc. They retain heat so well that it’s a perfect tool to get a crispy outside with a soft center. Having a lidded dutch oven, basically turns your oven into a mini brick stove. (Any thick lidded casserole dish will work, but I feel cast iron is one of the best-Le Creuset or something similar, Lodge, etc.)
So you are dying to know how to create this beautiful beast right? Hold on to your hats folks. Because it’s so simple… This recipe was taken from, and slightly modified from the blog, Frugallivingnw.com (Link here). I believe they got the recipe from My Bread by Jim Lahey. It’s seriously a keeper.
~Artisan Bread Ingredients~
6 C. Bread Flour (you can use a.p flour but you will not have the same results. Bread flour gives your bread more structure and stability. It’s not a doughy like regular a.p flour. That being said, I prefer bread flour but don’t feel the absolute need to run out and buy some…), plus more for covering space to work with dough.
1/2 tsp active dry yeast (this seems like a small amount but you are letting it rise for much longer than usual)
1 Tbsp salt (I modified this from the original recipe. I wanted a tad more flavor and I figured it was only 1/2 tsp more to make it one easy measurement)
2 2/3 C warm water (the original recipe calls for cold water but I activate my yeast in the warm water)
In a large glass bowl, combine warm water and yeast. Allow yeast to activate (a good couple minutes and a few stirs- it’ll look like cloudy water).
Put flour on top of water, once it’s ready. Put salt on top of the flour. *Side note: It’s important to allow the yeast to activate with the water before allowing the salt to touch it. Salt can actually kill the yeast, which won’t let the dough rise properly, if at all.*
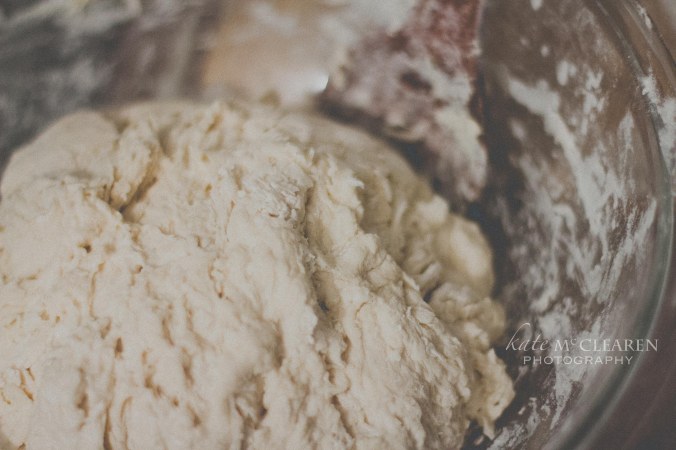
 Mix together until a sticky ball forms. (Not wet, but well incorporated.) Cover bowl with plastic wrap. Let the dough rise for 12- 18 hours. It’ll be pushing at the top of the wrap, bubbly and slightly darkened in color.
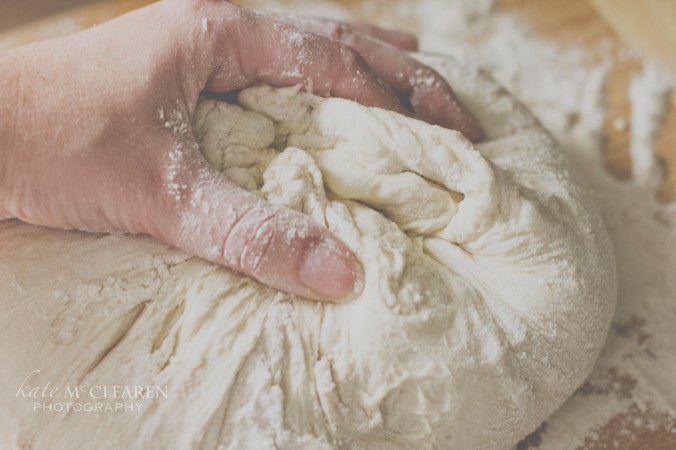
Once risen, lay out parchment paper (or a big cutting board like we did in the pictures) and cover heavily with flour. Remove the plastic wrap and with a bowl scrapper, spatula, or floured hands scrap out the dough from the bowl onto the parchment paper. Taking the edge of the dough, fold it on top of itself and knead it towards the center. Quarter turn and repeat.
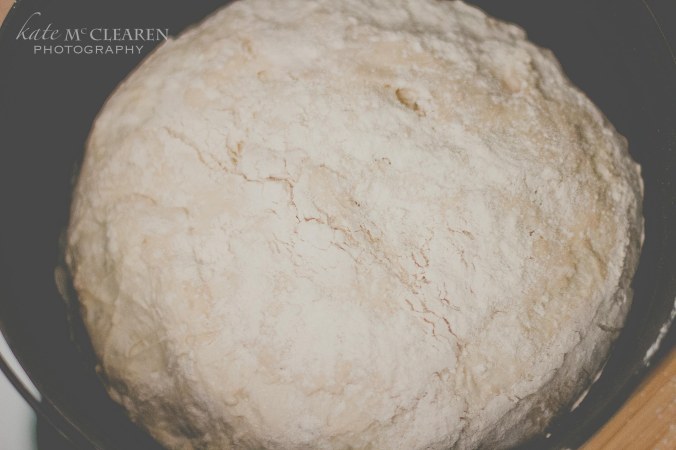
Once it’s a tighter ball, pick up the dough and grab the top part (where you were just folding into) twisting together, pulling the dough even tighter. Carefully turn the dough over and onto the parchment paper once again,making sure there’s enough flour down so it doesn’t stick- seam side down. Cover with a non-terry cloth towel. Let rest/rise for another 1 1/2- 2 hours. (This depends on how warm your kitchen is. If it’s cooler, place the dough on top of your oven when you turn it on to preheat. This should give it a good spring up.)
During the last half hour of second rising, turn the oven on to 425˚F. Put in the dutch oven–lid as well. When the oven and dutch oven are pre-heated/dough has risen, take out the dutch oven, and remove the lid. Put your hand fully underneath the parchment paper (with the dough in the center), and carefully flip dough into the dutch oven–seam side up (this gives it a gorgeous natural design). Before attempting this, know that flour will be thrown about, so get off as much excess flour from the paper as you can. 
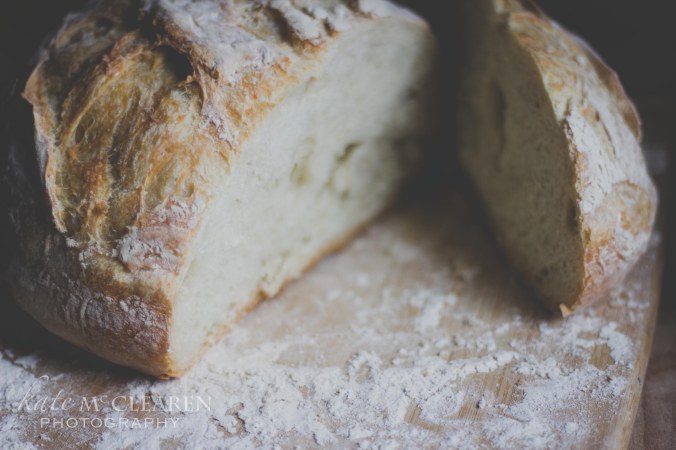
Cover with the lid and pop it in the oven for 35-40 min. Remove lid and bake for another 5-10 min. Pull the dutch oven out of the oven and lift the dough (with oven mitts because it’s HOT!) onto a cooling rack.
Be amazed.
Listen to the crackle.
Let it cool.
Eat and enjoy.
You seriously can’t beat that.
*Side note: Even though warm bread from the oven is positively delicious, cutting into it too soon will give it a gummy texture. So use a little will-power and hold out until it’s almost completely cooled*
And I have to put it in here because I love how frugallivingnw.com added up the cost of making this (including energy/gas) and it totals to about $.70. SERIOUSLY? $.70?!? Come’on…
You’re welcome.
The Wife


I hate you and love you… Now I can make homemade bread! Dang it! Now i have to make by own bread! Thanks!… Thanks…
Pingback: Anytime of the Day Meal: Mushroom’s, Fried Bread, Baked Egg’s in a Red Wine and Cream Sauce | The Everyday Chef and Wife
added to my ‘day off to-do’ list. 🙂
Pingback: Homemade Butter | The Everyday Chef and Wife
Pingback: New York Style Pizza Crust–You’ll slap yourself by how simple/cheap it is… | The Everyday Chef and Wife